Docker
- Command Line Interface
- Install Docker
- Get UserFrosting
- Build Containers & Setup UserFrosting
- Mailpit
- Working with UserFrosting
- Working with the Containers
- Advanced configuration
- Production Environment
If you don't already have a local development environment set up, this page will guide you through installing UserFrosting using Docker.
Docker provides a great starting point for building a UserFrosting application using PHP, NGINX, and MySQL without requiring prior Docker experience. All the necessary tools will be available through Docker. The only tool required on your computer, besides Docker, is access to the command line.
If you're familiar with PHP development, or already have PHP installed locally, you may instead want to consider setting up natively.
Command Line Interface
The command line interface will be required to perform most tasks in this guide. It's usage depends on your OS :
MacOS
If you're using MacOS, the Terminal is already installed on your computer. You'll find the app in /System/Applications/Utilities/Terminal.
Linux
Every Linux distro uses the command line. On Ubuntu for example, you can find a launcher for the terminal by clicking on the Activities item at the top left of the screen, then typing the first few letters of "terminal", "command", "prompt" or "shell".
Windows
The easiest way to setup a local dev environnement on Windows is through Windows Subsystem for Linux (WSL2). This is basically running Linux inside Windows. Best of both worlds! This also means most installation instructions for Windows you'll find on the internet won't work, as we're not technically on Windows, we're on Ubuntu. We'll instead use the Ubuntu installation instructions!
See this guide for more detail on this process : Set up a WSL development environment. The gist of it is :
- Open Windows Terminal, which can be found in the Microsoft Store.
- Open the terminal and install WSL2 distro :
wsl --install. - During installation, enter a unix user with a password. Remember this password, you'll need it later!
- Restart Windows Terminal and open a new Ubuntu terminal. Each subsequent CLI usage on Windows will be from this Ubuntu terminal.
When using Windows and WSL2, keep in mind your project files will be stored inside the Linux file system. For example, your project files will be in the Linux file system root directory (\\wsl$\<DistroName>\home\<UserName>\Project), not the Windows file system root directory (C:\Users\<UserName>\Project or /mnt/c/Users/<UserName>/Project$). See Microsoft guide on file storage for more information.
Install Docker
First, you'll need to install Docker. Just follow the installation instructions from the Docker website:
Get UserFrosting
For the next part, you'll need to use the command line. We'll use Composer (through a Docker image) to create an empty project, with the latest version of the UserFrosting skeleton, into a new UserFrosting subdirectory:
docker run --rm -it -v "$(pwd):/app" composer create-project userfrosting/userfrosting UserFrosting "^6.0-beta" --no-scripts --no-install --ignore-platform-reqs
Tip
Note the UserFrosting in the command. This means Composer will create a new UserFrosting/ subdirectory inside the current location. You may change UserFrosting to anything you like.
Build Containers & Setup UserFrosting
Now it's simply a matter of navigating to the directory containing the source code you just downloaded, building the containers, starting them, then installing UserFrosting.
-
Navigate to the directory:
cd UserFrostingTip
If you customized
UserFrostingin the previous command, don't forget to change it in the command above. -
Build each of the Docker Containers (this might take a while):
docker-compose build --no-cache -
Copy the
.envtemplatecp app/.env.docker app/.env -
Start each Docker Container:
docker-compose up -d -
Set some directory permissions (you may have to enter your root password):
sudo touch app/logs/userfrosting.log sudo chown -R $USER: . sudo chmod 777 app/{logs,cache,sessions} -
Install PHP dependencies:
docker-compose exec app composer update -
Install UserFrosting (database configuration and migrations, creation of admin user, etc.). You'll need to provide info to create the admin user:
docker-compose exec app php bakery bake
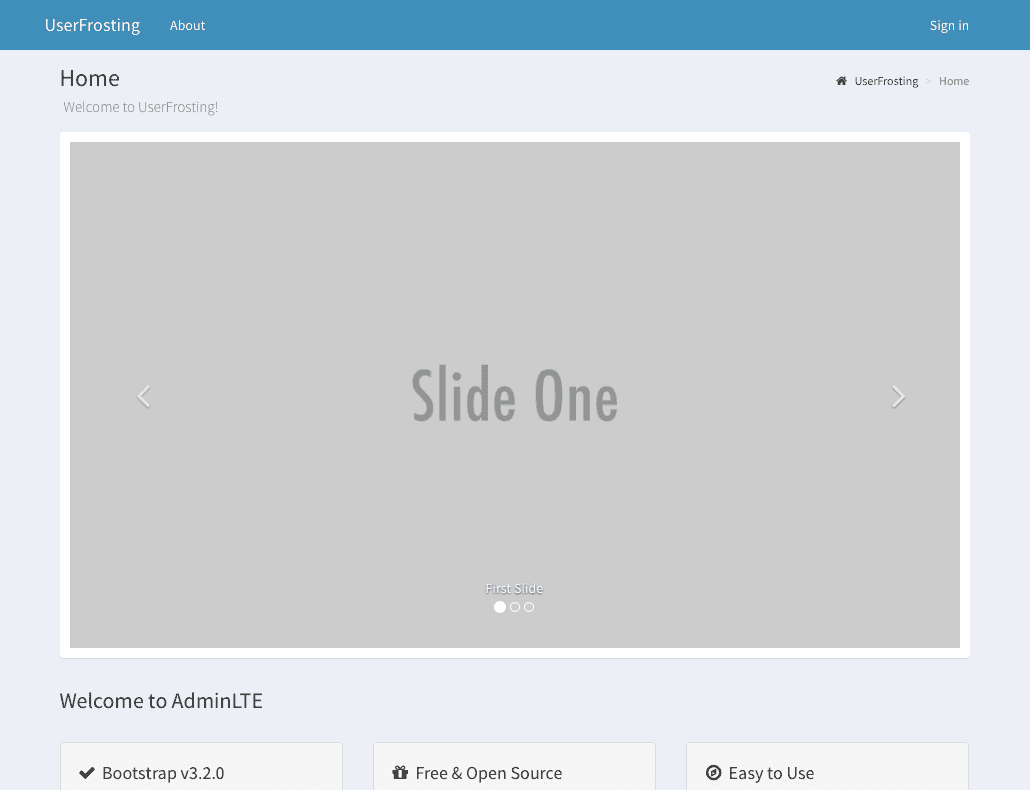
Now visit http://localhost:8080 to see your UserFrosting homepage!
You should see the default UserFrosting pages and be able to log in with the newly created admin account.
To stop the containers, run:
docker-compose stop
Mailpit
UserFrosting's default docker-compose.yml file contains a service entry for Mailpit. Mailpit intercepts emails sent by your application during local development and provides a convenient web interface so that you can preview your email messages in your browser.
While UserFrosting is running, you may access the Mailpit web interface at: http://localhost:8025.
Working with UserFrosting
Every Bakery command needs to be wrapped in Docker Compose syntax, since you need to run these commands in the containers, not your computer.
For example:
docker-compose exec app php bakery ...
Working with the Containers
If you need to stop the UserFrosting Docker containers, change to your UserFrosting directory and run:
docker-compose stop
To start the containers again, change to your UserFrosting directory and run:
docker-compose up -d
If you need to purge your Docker containers (this will not delete any source files or sprinkles, but will empty the database), run:
docker-compose down --remove-orphans
And then start the installation process again.
Advanced configuration
At the heart of everything is the docker-compose.yml file. If you're experienced with Docker and Docker Compose, this is where you can customize your Docker experience. For example, you can customize the port each service runs on. Since the file is located in your sprinkle (your app), it's possible to save this file in your repository.
The docker-compose.yml file also contains the MySQL database and Mail environment variables. Since these variables are defined globally inside the container, they don't need to be redefined inside the .env file.
Warning
If you have multiple instances of UserFrosting on your computer, they will share the same configuration by default. This means:
- You can't run multiple Docker instances of UserFrosting simultaneously with the default configuration, as ports will conflict.
- Both instances will share the same database.
If you wish to run multiple instances of UserFrosting on the same computer with Docker, you must edit the docker-compose.yml for each instance and change the ports and database volumes/database names.
Note
An "address already in use" error can be thrown if a port defined in docker-compose.yml is already used on your system. For example, if Mailpit is installed locally and running on the default port, you'll get an "address already in use" error when running Docker. This can be solved by changing the port in docker-compose.yml.
Production Environment
This setup is not (yet) meant for production!
You may be tempted to use this configuration in production, but it has not been security-hardened. For example:
- The database is exposed on port 8593 so you can access MySQL using your favorite client at
localhost:8593. However, the way Docker exposes ports bypasses common firewalls likeufw. This should not be exposed in production. - Database credentials are hard-coded, which is not secure.
- File permissions may be more permissive than necessary.
- HTTPS is not implemented.
- This setup has not been thoroughly tested as a production system.
If you're experienced with Docker in a production environment, don't hesitate to reach out and contribute to this documentation.